Photoshop - Discover the Secret to Creating Stunning Black and White Photos in Just 2 Steps!
In this quick Photoshop tutorial, I’ll walk you through my process for converting an image from this…
…to this with only a 2 clicks
In this tutorial, I’ll walk you through my process for converting an image from this…
…to this with only a 2 clicks
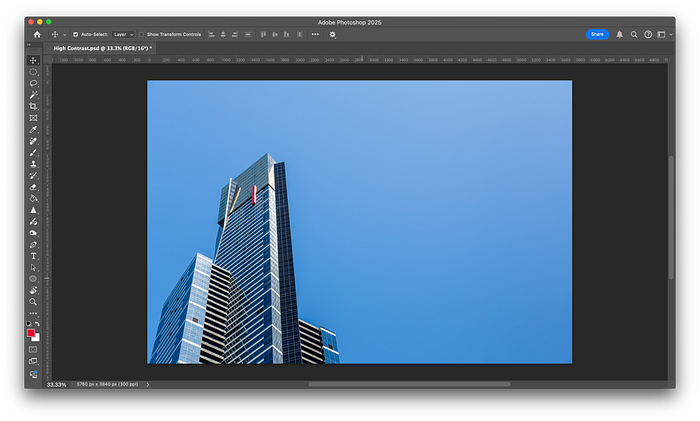
For the best results in creating high-contrast black-and-white images or transforming day scenes into night, I’ve found that images with a solid blue background work exceptionally well. Here’s why: blue skies or backgrounds provide a clean, even surface that makes it easier to create dramatic contrasts or darken the scene naturally.
Open the image in photoshop
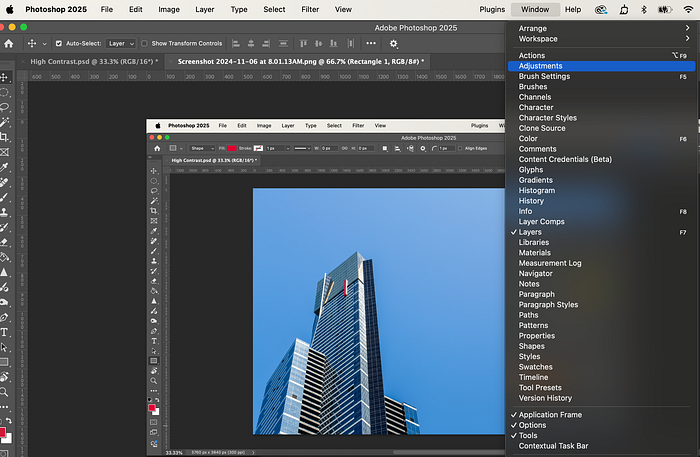
Add a Black and White adjustment layer

To active or to access the Adjustment layers — Click Window (top menu) — Adjustments
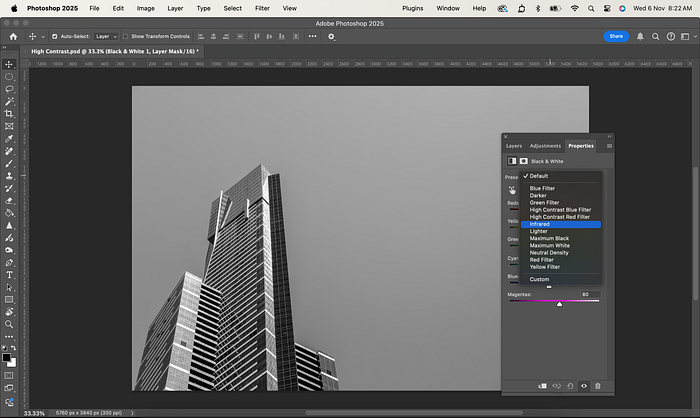
Apply the Infrared Preset
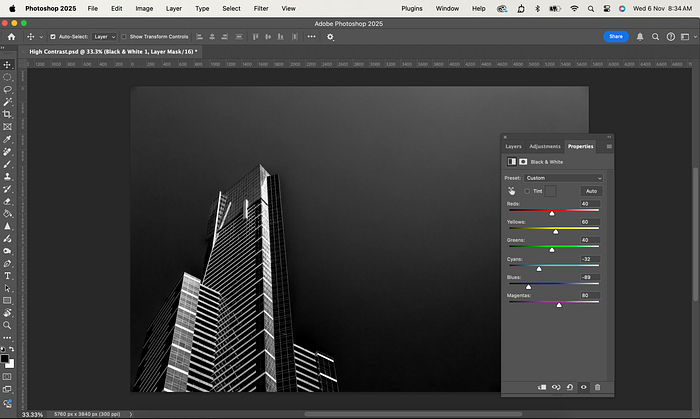
To achieve a striking high-contrast effect, especially when working with images that have blue backgrounds, adjusting the sliders is key. Here’s how:
Experiment with these sliders to get a bold, high-contrast look perfect for black-and-white transformations or day-to-night edits.
Final Result

Watch the video below with the step by step guide.
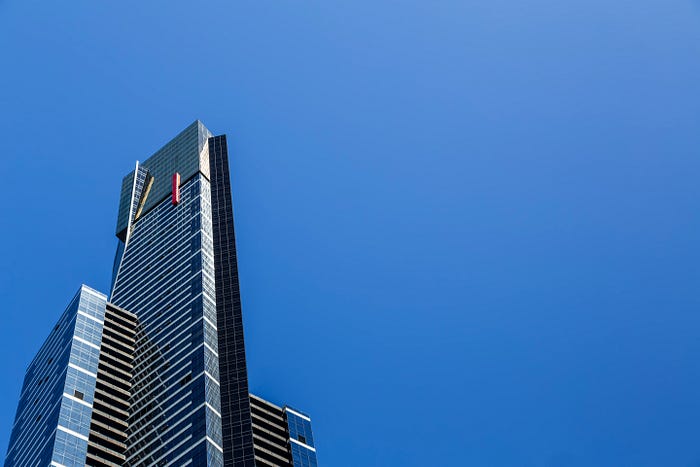 |
| Original Image |
…to this with only a 2 clicks
|
| Final image after Processed in Photoshop |
In this tutorial, I’ll walk you through my process for converting an image from this…
…to this with only a 2 clicks
For the best results in creating high-contrast black-and-white images or transforming day scenes into night, I’ve found that images with a solid blue background work exceptionally well. Here’s why: blue skies or backgrounds provide a clean, even surface that makes it easier to create dramatic contrasts or darken the scene naturally.
Open the image in photoshop
Add a Black and White adjustment layer
To active or to access the Adjustment layers — Click Window (top menu) — Adjustments
Apply the Infrared Preset
To achieve a striking high-contrast effect, especially when working with images that have blue backgrounds, adjusting the sliders is key. Here’s how:
- Locate the Blue and Cyan Sliders — In most editing software, find the colour adjustment section, where individual colour sliders are available.
- Boost Blue and Cyan — Increase the Blue and Cyan sliders to deepen and enhance those tones, adding intensity to the sky or other blue areas.
- Fine-Tune for Contrast — Adjust overall contrast and tweak shadows or highlights if needed, but let the blue and cyan adjustments drive the main effect.
Experiment with these sliders to get a bold, high-contrast look perfect for black-and-white transformations or day-to-night edits.
Final Result
Watch the video below with the step by step guide.


.jpg)
Comments
Post a Comment